
Setup Plugin
To begin using the WooMpesa plugin, you need to download and install it manually through your WordPress admin dashboard. Follow the steps below carefully to complete the setup.
Download the Plugin
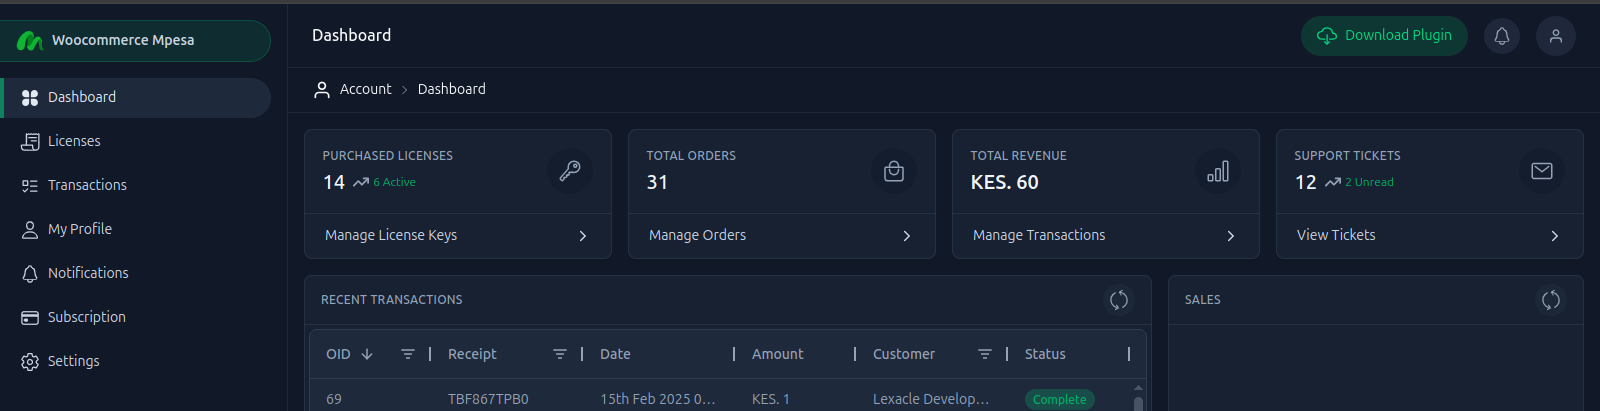
Login to the WooMpesa Portal
Navigate to the WooMpesa Portal and log in using your registered credentials.Access 'My Licenses' Section
Click on the "My Licenses" tab from the dashboard menu.Download the Plugin ZIP
In your account portal locate the download link and click "Download Plugin" to save the ZIP file to your computer. Alternatively Click here to Download the plugin
Download the latest version of the WooMpesa plugin from your account dashboard.
Install the Plugin in WordPress
Log in to WordPress Admin
Visit your WordPress site's admin dashboard (e.g.,https://yourdomain.com/wp-admin).Go to Plugins → Add New
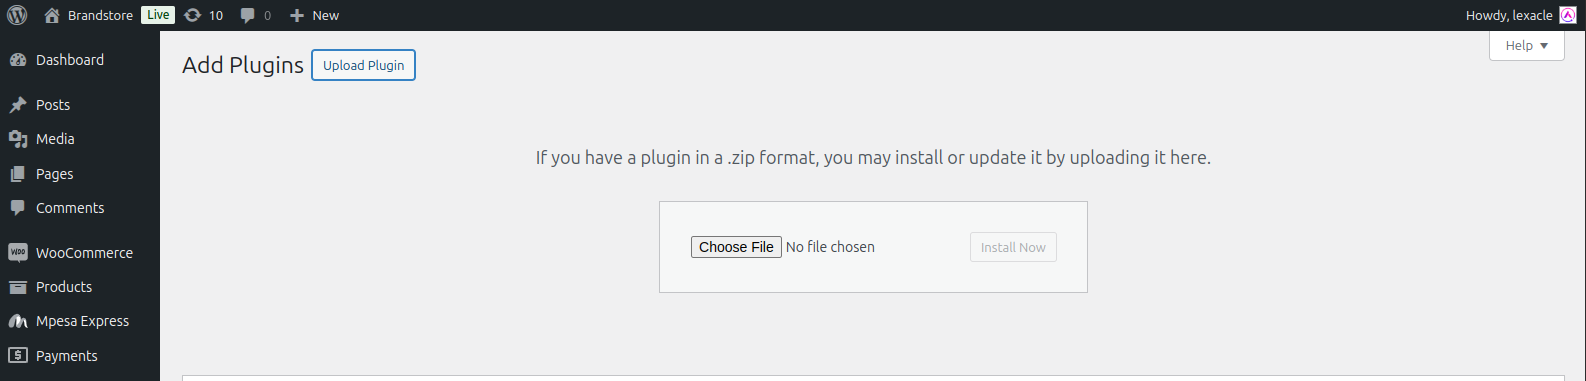
On the sidebar menu, navigate to Plugins → Add New.Upload Plugin
Click the Upload Plugin button at the top of the page.Choose File
Click Choose File, select the WooMpesa plugin ZIP file you downloaded earlier, and click Install Now.Activate the Plugin
Once the plugin is installed, click Activate Plugin to enable WooMpesa on your WooCommerce store.
Manually uploading the WooMpesa plugin ZIP file to WordPress.
Confirm Installation
- After activation, go to WooCommerce → Settings → Payments.
- Look for "M-Pesa (WooMpesa)" in the list of payment methods.
- Click Manage to open the plugin configuration page.
Tips
If you don’t see WooMpesa listed, try refreshing the page or reactivating the plugin.
Plugin Setup Continuation
After the plugin is installed and activated, proceed to the License Usage section to activate your license key and the Mpesa Credentials Setup to integrate your M-Pesa account.